In this Article
- Why Milk Froths at All (The 60-Second Science)
- Best Milk for Frothing Without a Frother
- Method 1: Mason Jar (Easiest — Best for Beginners)
- Method 2: French Press (Best Overall Method)
- Method 3: Hand Whisk (Most Control, Most Effort)
- Method 4: Immersion Blender (Fast, Powerful, Slightly Messier)
- Method 5: Countertop Blender (High Volume, Great for Iced Drinks)
- Method 6: Electric Hand Mixer (Easiest for Volume)
- Method Comparison: Which One Should You Use?
- How to Froth Creamer Without a Frother
- How to Froth Milk for Iced Coffee (Cold Foam Without a Frother)
- Temperature Guide: The Numbers That Matter
- Troubleshooting: Why Your Milk Won’t Froth (And How to Fix It)
- Common Mistakes (Ranked by How Much They Hurt Your Foam)
- What Drinks Can You Make With Froth?
- FAQ
- Final Thoughts
You can froth milk without a frother using a mason jar, French press, hand whisk, blender, immersion blender, or electric mixer — all with tools you already own. The best method depends on what you have in your kitchen and the type of foam you want. This guide ranks all six methods honestly, explains what each one produces, and shows you exactly how to do it.
Here’s what nobody tells you upfront: most articles treat all froth as the same. It’s not. There’s a big difference between the coarse, large-bubble foam you get from shaking a jar and the smooth, velvety microfoam a French press produces. Knowing which method creates which texture changes everything — because the “right” froth depends on the drink you’re making, not just whether you own a $10 frother.
Why Milk Froths at All (The 60-Second Science)
Understanding this saves you from a lot of failed attempts and wasted milk.
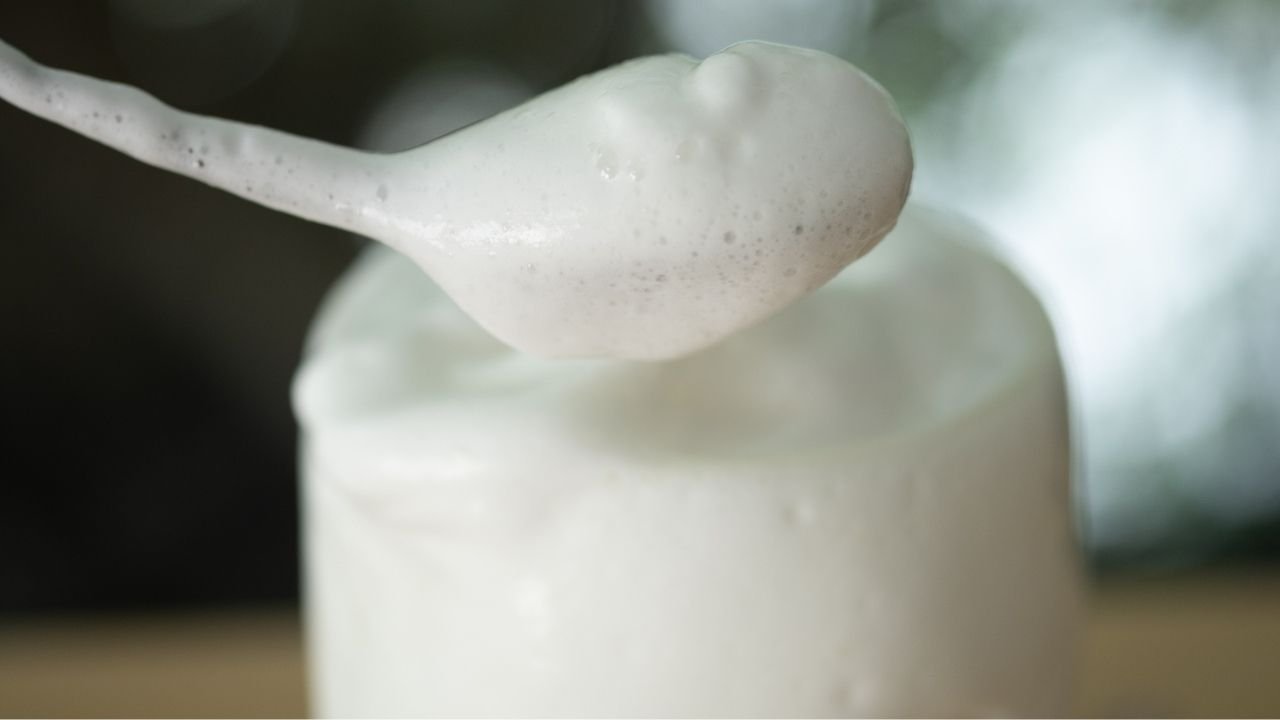
Milk froth is created when air becomes trapped inside a network of denatured proteins. Milk contains two types of protein — casein and whey — that act as natural surfactants. When you heat milk and introduce movement (shaking, whisking, pumping), these proteins unfold and form a flexible scaffold around air bubbles, holding them in place. Fat adds creaminess and helps the foam resist collapsing.
Temperature matters enormously. Proteins activate and become flexible at around 140°F (60°C), which is why hot milk froths far better than cold milk. But push past 165°F (74°C) and those same proteins denature too far — they become stiff, the foam turns grainy and unstable, and your beautiful layer collapses into flat, scalded milk within seconds.
This is the science behind the number-one frothing mistake: overheating. And it’s exactly what the other frother-free guides either gloss over or skip entirely.
Best Milk for Frothing Without a Frother
The method matters less than the milk you start with. Use the wrong milk and no technique will save you.
Whole milk is the gold standard. Its balance of fat (around 3.5%) and protein creates foam that’s thick, stable, and genuinely creamy. It won’t give you the most volume, but it gives you the best texture. For lattes and cappuccinos, this is what you want.
2% milk is a strong second. Slightly less creamy than whole, but it produces a touch more volume and still holds its shape well. Honestly, for most home drinks, the difference is minimal.
Skim milk froths with impressive volume — the higher protein-to-fat ratio means more air gets trapped. But the foam is thinner, less creamy, and collapses faster. It works, but it’s not satisfying in the same way. Great for low-calorie drinks; not great for quality texture.
Plant-based milks are variable. Here’s an honest breakdown:
| Milk Alternative | Froth Quality | Notes |
| Barista oat milk | Excellent | Closest to whole milk texture. Best plant-based option. |
| Soy milk (barista edition) | Good | High protein; can curdle if overheated — keep under 155°F |
| Regular oat milk | Fair | Thinner foam, collapses quickly |
| Almond milk (regular) | Poor | Low protein = unstable foam, disappears fast |
| Coconut milk (full fat) | Fair | Rich but separates; better in iced drinks |
The word “barista” on plant milk packaging isn’t marketing fluff. Those versions contain added fats and stabilizers specifically designed to help them foam. Regular grocery-store oat milk will let you down — not because oat milk can’t froth, but because that particular formulation wasn’t designed to.
One more thing: use fresh, cold milk for frothing and heat it just before you froth. Milk that’s been sitting at room temperature, or that’s been heated and cooled twice, produces noticeably flatter foam. According to research on milk protein behavior, re-steaming already-heated milk degrades the protein structure further each time, which is why baristas will throw out a pitcher and start fresh rather than re-froth.
Method 1: Mason Jar (Easiest — Best for Beginners)
Foam type: Light, large-bubble, airy
Best for: Lattes, hot chocolate, quick foam on any drink
Time: 60–90 seconds
Cleanup: Minimal
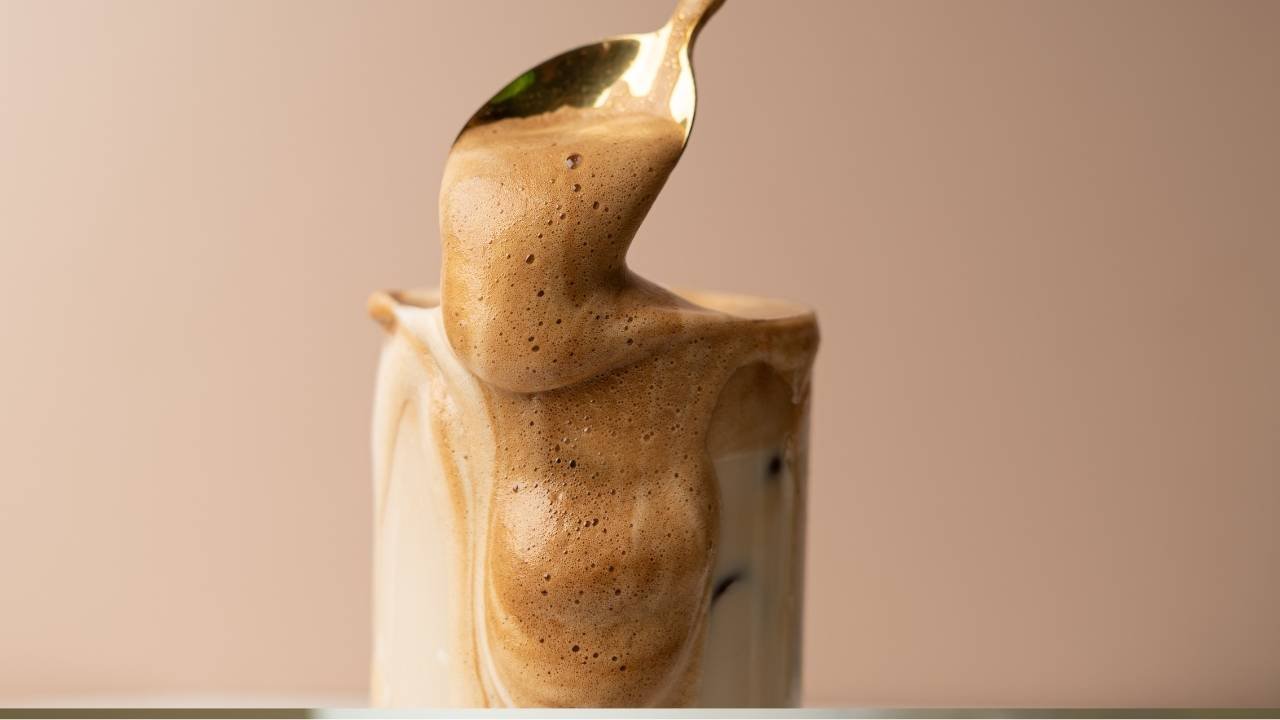
This is the method most people try first, and it works — with a few caveats. The foam you get from a mason jar is airier and more coarse than what a steam wand produces. It’s not microfoam. But for a quick home latte or foamy hot chocolate, it’s genuinely fine.
Step-by-Step
- Heat your milk on the stovetop or microwave to 140–150°F. If you don’t have a thermometer, heat until you see wisps of steam and the milk is too hot to touch comfortably — not boiling.
- Pour the hot milk into a clean mason jar. Fill it no more than halfway — the milk roughly doubles in volume as it froths. This is the step people skip, and then they wonder why milk is all over the counter.
- Seal the lid tightly and shake vigorously for 30–60 seconds. It’ll feel like a workout. That’s correct.
- Remove the lid and microwave for 20–30 seconds uncovered. This step stabilizes the foam and keeps it from collapsing immediately after pouring.
- Pour slowly over your coffee, using a spoon to hold back the foam, then spoon it on top.
Honest assessment: The foam from this method is bubbly rather than silky. It won’t hold for more than 3–4 minutes. If you’re making a cappuccino and want distinct layers, this works well. If you want the glossy, smooth microfoam that sits perfectly on a latte, try the French press method instead.
Insider tip: Warming the jar slightly before adding milk (just rinse it with hot water) helps the foam hold its heat longer when you pour.
Method 2: French Press (Best Overall Method)
Foam type: Thick, creamy, closest to professional microfoam
Best for: Cappuccinos, flat whites, lattes
Time: 45–60 seconds
Cleanup: Moderate (wash the press after)
If you already own a French press for coffee — and many coffee lovers do — you’re sitting on the best milk-frothing tool in your kitchen. The mesh plunger does something other manual methods can’t: it breaks large bubbles into smaller ones as it passes through the milk, creating a denser, more uniform foam. Baristas know this. Most home brewers don’t.
This is the method I’d choose if I had no frother and had to pick one approach for the rest of my life.
Step-by-Step
- Heat milk to 150°F on the stovetop or microwave. Don’t skip heating — cold milk in a French press produces adequate but noticeably thinner results.
- Pour milk into the clean French press, filling it no more than one-third full. This is critical. Milk expands significantly.
- Place the lid on and pump the plunger rapidly up and down for 20–30 seconds — firm, fast strokes, traveling the full length of the press. You’ll feel the resistance build as foam forms.
- Stop when the milk has roughly doubled in volume and looks glossy and creamy.
- Remove the lid, give the press a gentle swirl to even the texture, and pour.
The quality difference is real. French press foam is smoother, holds its shape for 5–7 minutes (longer than any jar method), and feels genuinely closer to café quality. If you want to practice latte art at home, this gives you a fighting chance. The jar method does not.
One caution: Don’t reuse the French press for coffee after frothing milk without washing it thoroughly. Milk residue affects coffee flavor more than most people realize.
Method 3: Hand Whisk (Most Control, Most Effort)
Foam type: Medium-fine bubbles, decent texture
Best for: Cappuccinos, hot drinks
Time: 1–2 minutes
Cleanup: Minimal (just rinse the whisk)
A regular balloon whisk — the kind in almost every kitchen — creates surprisingly good foam with nothing but arm speed. The technique matters more than the tool here.
Step-by-Step
- Heat milk to 140–150°F in a small saucepan on the stovetop. Watch it closely — this method works best when you froth immediately after heating.
- Pour into a deep bowl or tall pitcher. The depth gives you room to work without splattering milk everywhere.
- Whisk vigorously in a rapid back-and-forth or side-to-side motion (not circular — a back-and-forth motion incorporates more air). Keep the whisk near the surface rather than deep in the milk.
- Froth for 60–90 seconds until the volume noticeably increases and the foam looks lighter.
- Let it sit for 10 seconds, then spoon the foam carefully.
The whisk produces foam that’s somewhere between the jar method and the French press in terms of texture — better than shaking, less refined than pumping. It’s a good middle-ground method if you want to practice and don’t have a French press nearby. Pairs well with a cup of homemade cappuccino where you’re learning ratios.
Warning: Don’t use a flat whisk or fork. You need a proper balloon whisk with multiple loops — the wire geometry is what incorporates air effectively. A fork just stirs.
Method 4: Immersion Blender (Fast, Powerful, Slightly Messier)
Foam type: Uniform, medium-fine bubbles
Best for: Lattes, flavored drinks, larger batches
Time: 15–30 seconds
Cleanup: Moderate
An immersion (stick) blender works faster than any manual method and produces fairly consistent foam. The downsides: it can create larger bubbles if you overdo it, and splashing is a real concern.
Step-by-Step
- Heat milk to 140–150°F.
- Pour into a tall, narrow container (a wide bowl creates a splatter disaster). A large measuring cup or deep jar works well.
- Submerge the blender head completely before turning it on. This is the most important step — starting with the head above the milk surface launches hot milk at your face and walls.
- Run on low-to-medium speed for 15–30 seconds.
- Pour immediately — immersion blender foam starts to separate faster than French press foam.
This method works especially well when you’re making a flavored latte and already need to blend ingredients anyway. It’s also the most useful method for larger batches — making two or three drinks at once.
Method 5: Countertop Blender (High Volume, Great for Iced Drinks)
Foam type: Light, airy, large volume
Best for: Iced lattes, frappuccino-style drinks, cold foam
Time: 20–30 seconds
Cleanup: High (full blender to wash)
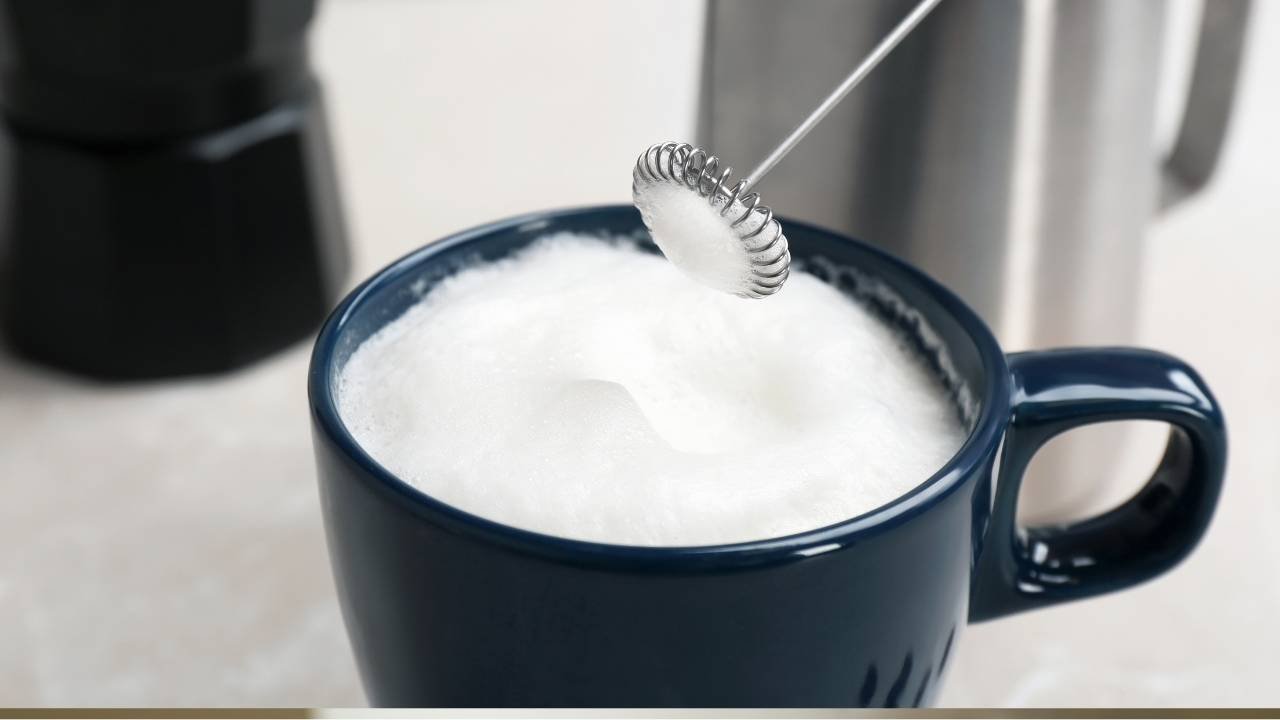
A regular blender works — but it’s worth knowing that it creates a different style of foam than the other methods. Blender foam is lighter, more airy, and tends to separate from liquid fairly quickly. It’s great for cold foam on iced coffee; less ideal for hot cappuccinos where you want dense, stable foam layers.
Step-by-Step
- For hot foam: Heat milk to 145°F, pour into a blender, cover (hold the lid down with a towel — hot liquids create pressure), blend on medium for 20 seconds.
- For cold foam: Use cold milk straight from the fridge. Blend on high for 30–45 seconds. Cold foam for iced coffee is genuinely excellent from a blender.
- Pour immediately.
Hot liquid + blender warning: Always start on low speed and increase gradually. Steam pressure inside a blender with hot milk can blow the lid off if you hit high speed immediately. This is not a hypothetical risk.
Method 6: Electric Hand Mixer (Easiest for Volume)
Foam type: Light, airy, high volume
Best for: Hot chocolate, sweet drinks
Time: 30–45 seconds
Cleanup: Moderate (two whisk attachments to clean)
An electric hand mixer with the whisk attachment does the work of a hand whisk without the arm effort. The foam is similar in quality to the hand whisk but produced in half the time. The main limitation: you need a deep bowl and a steady hand to avoid splattering hot milk.
Step-by-Step
- Heat milk to 140–150°F.
- Pour into a deep mixing bowl — at least twice the volume of your milk.
- Use the whisk attachment on low speed for the first 15 seconds, then increase to medium.
- Froth for 30–45 seconds total.
- Spoon over your drink immediately.
Method Comparison: Which One Should You Use?
| Method | Foam Quality | Time | Cleanup | Best For |
| French Press | ⭐⭐⭐⭐⭐ | 45 sec | Medium | Cappuccinos, lattes |
| Immersion Blender | ⭐⭐⭐⭐ | 20 sec | Medium | Hot lattes, batch drinks |
| Hand Whisk | ⭐⭐⭐ | 90 sec | Easy | Any hot drink |
| Mason Jar | ⭐⭐⭐ | 60 sec | Easy | Quick foam, beginners |
| Countertop Blender | ⭐⭐⭐ | 30 sec | Hard | Cold foam, iced drinks |
| Electric Mixer | ⭐⭐⭐ | 45 sec | Medium | Hot chocolate, sweet drinks |
My honest recommendation: If you have a French press, use it. If you don’t, the mason jar method is the lowest-friction starting point. If you ever find yourself making lattes regularly and want a genuine upgrade, a handheld battery frother costs about $10–12 and produces results better than all of the above — it’s worth mentioning even in a frother-free guide.
How to Froth Creamer Without a Frother
Coffee creamer froths differently from plain milk — and most guides completely ignore this. Here’s what’s actually happening.
Dairy creamers (like Coffee-Mate liquid) have a higher fat content but usually less protein than regular milk. They froth more easily in terms of starting the process, but the foam is less stable and collapses faster. They work best with the mason jar or French press method.
Non-dairy creamers vary wildly. Coconut-based creamers produce a rich foam with a slightly sweet flavor that works beautifully in lattes. Oat-based creamers (barista editions) are the most reliable. Almond-based creamers, similar to almond milk, tend to produce thin, unstable foam.
Two tips specific to creamer:
- Use less liquid. Creamers are concentrated. Where you’d use 6 oz of milk, use 4 oz of creamer — otherwise the drink becomes oversaturated.
- Heat very gently. Creamers, especially non-dairy ones, curdle or separate at temperatures above 155°F. Keep the heat low and stop early.
Add a tiny pinch of sugar (½ teaspoon) to the creamer before frothing — the sugar molecules help stabilize the foam and make it hold noticeably longer.
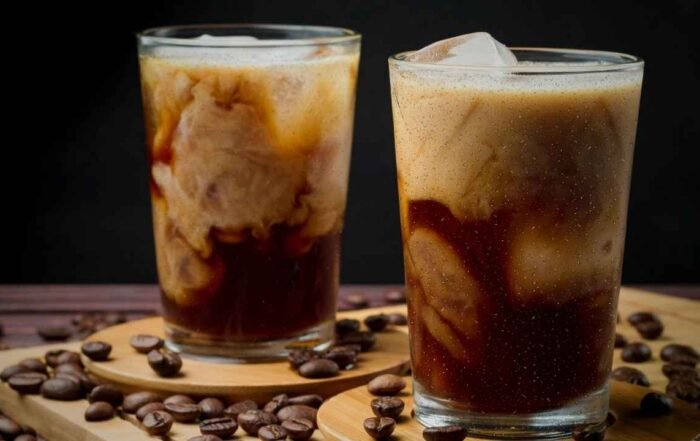
How to Froth Milk for Iced Coffee (Cold Foam Without a Frother)
Cold foam is having a moment — and you don’t need a cold foam attachment or a special frother to make it.
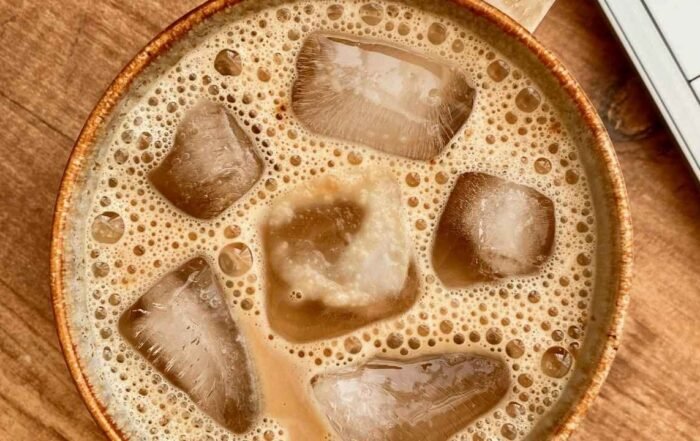
Cold foam uses cold milk, not heated. The process relies more on mechanical agitation than heat to incorporate air. The result is different from hot froth — lighter, airier, and it floats distinctly on top of cold drinks rather than integrating.
Best methods for cold foam:
- Mason jar (shaking): Pour cold milk, fill halfway, shake hard for 60–90 seconds. Works well.
- Countertop blender: Blend cold milk on high for 30–45 seconds. Creates excellent volume.
- French press: Pump cold milk vigorously for 30 seconds. Produces the best texture.
The cold foam trick: Use heavy whipping cream or a mix of heavy cream and milk (50/50) for cold foam that really holds — the higher fat content creates a denser, longer-lasting foam that won’t dissolve into your iced coffee within minutes. This is essentially what coffee shops do with cold foam: it’s not just milk.
For iced lattes, pour your cold foam over the drink last, using a spoon to deposit it gently on top so it floats rather than mixing in.
Temperature Guide: The Numbers That Matter
This is the section that saves you from the most common frothing failures.
| Temperature | What Happens |
| Below 120°F (49°C) | Proteins not yet activated; weak, fast-collapsing foam |
| 140–155°F (60–68°C) | Sweet spot. Proteins flexible, fat liquefied, stable foam |
| 160–165°F (71–74°C) | Upper limit; foam starts thinning |
| Above 170°F (77°C) | Proteins over-denatured; scalded flavor, flat foam |
If you don’t own a thermometer yet, the simplest test: when you can hold your hand flat against the outside of the pitcher or mug and it’s genuinely uncomfortable but bearable for 3 seconds — that’s approximately 140°F. Too hot to hold at all is too hot to froth well.
Troubleshooting: Why Your Milk Won’t Froth (And How to Fix It)
Problem: Foam collapses immediately after pouring
→ Milk was overheated (above 165°F), or the milk was re-heated a second time. Start fresh with cool milk and don’t exceed 155°F.
Problem: Foam forms big, coarse bubbles instead of creamy texture
→ Technique is too aggressive, or you’re using the wrong method for the result you want. Slow down with the French press and use longer, controlled strokes rather than frantic ones.
Problem: Plant milk isn’t frothing at all
→ You’re using regular grocery store plant milk, not barista edition. The formulations are genuinely different. Also check that it’s fresh — plant milks close to their expiry date froth poorly.
Problem: Milk froths fine but tastes flat or slightly burned
→ It boiled. Scalded milk develops off-flavors that no amount of vanilla syrup fully covers. Lower your heat source and watch more carefully.
Problem: Foam looks great in the container but disappears when it hits the coffee
→ Your coffee is too hot (above 160°F) and literally deflates the foam on contact. Brew or pull your espresso first and let it sit for 30 seconds before adding the foam.
Problem: Foam doesn’t form at all, milk just gets hot
→ Equipment has a residue of dish soap, oil, or old milk. Even trace amounts of fat from contaminated equipment destroy foam formation. Wash everything thoroughly and rinse completely.
Common Mistakes (Ranked by How Much They Hurt Your Foam)
Mistake 1: Overheating the milk (kills most batches)
The single most common error. Milk that hits 170°F+ won’t froth properly — the proteins are cooked, not just activated. If your milk has a skin forming on top, it’s already too hot.
Mistake 2: Filling the jar or French press too full
Milk doubles or more in volume when frothed. Fill containers halfway at most, or you’ll have a mess and subpar foam.
Mistake 3: Trying to froth milk that was already heated once
Re-frothing previously heated milk produces inferior foam every time. According to dairy science research, the protein structures in milk degrade with repeated heating, reducing their ability to stabilize air bubbles. Start fresh.
Mistake 4: Using ultra-pasteurized milk
Ultra-pasteurized (UHT) milk has been heated to very high temperatures during processing, which partially denatures the proteins before you even start. It froths, but the results are noticeably less stable. Regular pasteurized whole milk works better.
Mistake 5: Frothing and then letting it sit
Froth doesn’t wait. Pour it on your drink within 30–60 seconds or watch it collapse. Have your coffee ready before you froth, not after.
Mistake 6: Using the wrong method for the drink
A mason jar is great for a quick cappuccino. It’s a poor choice for latte art practice. Match your method to your expectations — or you’ll blame yourself when the problem was the technique.
What Drinks Can You Make With Froth?
Once you can make reliable foam, a surprising number of café drinks open up at home.
Cappuccino
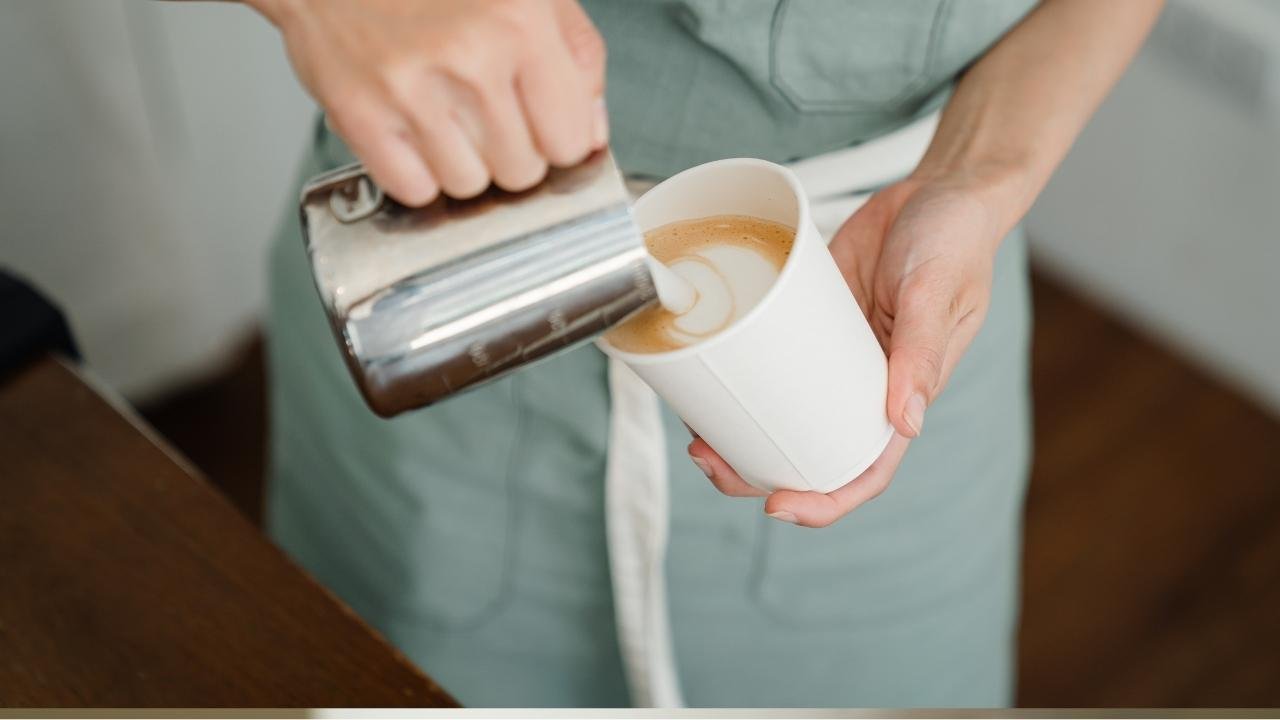
1/3 espresso + 1/3 steamed milk + 1/3 foam. The French press method produces foam thick enough for a real cappuccino-style separation. Pour your espresso first, add a small amount of steamed milk, then layer the dense foam on top. Dust with cocoa powder or cinnamon.
Latte
More milk, less foam than a cappuccino — typically 1 shot espresso + 6–8 oz steamed milk + light layer of foam on top. The mason jar or French press both work here. Check out our complete latte-making guide for ratios and technique.
Hot Chocolate
Froth whole milk or oat milk and pour it over melted dark chocolate or cocoa powder dissolved in a small amount of hot water. The foam on hot chocolate is underrated — it adds a luxurious texture that makes homemade hot chocolate genuinely feel special.
Matcha Latte
Whisk matcha powder with a small amount of hot water first (a bamboo chasen is ideal, but a regular whisk works), then pour frothed oat milk over it. The earthy bitterness of matcha balances beautifully with creamy foam.
Chai Latte
Brew strong chai tea, add warm frothed milk. The French press method works particularly well here — the thick foam holds up against the bold spice flavors of the tea.
London Fog
Earl Grey tea + vanilla syrup + frothed milk. Simple, elegant, and wildly underrated. The floral bergamot in Earl Grey is transformed by warm, creamy foam.
FAQ
How do you froth milk without a frother?
Heat milk to 140–150°F, then use a mason jar (shake for 60 seconds), French press (pump plunger for 25 seconds), hand whisk (whisk vigorously for 90 seconds), immersion blender (blend for 20 seconds), or countertop blender (blend on medium for 20 seconds). The French press produces the best texture. The mason jar requires the least equipment.
What temperature should milk be for frothing?
Heat milk to 140–155°F (60–68°C) for best results. At this temperature, milk proteins activate and become flexible enough to trap air bubbles without breaking down. Milk above 165°F becomes over-denatured, producing flat or grainy foam that collapses quickly.
Why won’t my milk froth?
The most common causes are milk that’s too hot (above 165°F), too cold (below 120°F), ultra-pasteurized, or previously heated. Equipment with soap or oil residue also prevents foam. Use fresh, whole milk heated to 145–155°F, in clean equipment, for reliable results.
Can you froth cold milk without a frother?
Yes. Cold milk can be frothed using a mason jar (shake vigorously for 60–90 seconds), a French press (pump for 30 seconds), or a blender (blend on high for 30–45 seconds). Cold foam is lighter and airier than hot foam and works best as a floating topping on iced coffee drinks.
How long does frothed milk last?
Frothed milk lasts roughly 3–7 minutes before the foam begins to collapse, depending on the method. French press foam holds longest (5–7 minutes); mason jar foam typically lasts 3–4 minutes. Always have your drink ready before you froth — not after.
What milk froths best without a frother?
Whole milk produces the creamiest, most stable foam due to its balanced fat and protein content. 2% milk is a close second. Skim milk produces more volume but less creamy texture. For plant-based options, barista-edition oat milk is the best choice — it froths comparably to 2% dairy milk.
Can you froth oat milk without a frother?
Yes, but you must use barista-edition oat milk (Oatly Barista, Califia Barista Blend, Minor Figures, etc.). Regular oat milk lacks the added fats and stabilizers needed for good foam and will produce thin, flat results. Heat barista oat milk to 140–150°F and use the French press or mason jar method.
Can you froth almond milk without a frother?
Almond milk froths poorly compared to whole milk or oat milk due to its low protein content. Unsweetened almond milk is particularly difficult; sweetened varieties froth slightly better. If almond milk is your only option, heat it gently (no higher than 150°F) and use the French press method for the best chance at stable foam.
How do you froth milk without a frother for a latte?
Heat 6 oz of whole or oat milk to 150°F, then pump a clean French press for 20–25 seconds until the milk doubles in volume. Pour your espresso or strong coffee into a mug, add a small amount of the steamed milk, then pour the foam over the top. The French press produces the smoothest foam for lattes of all the no-frother methods.
Can you froth creamer without a frother?
Yes. Use a mason jar or French press method with liquid dairy or non-dairy creamer. Use slightly less creamer than you would milk (about 4 oz instead of 6 oz), heat gently to no more than 150°F, and add a small pinch of sugar before frothing to help stabilize the foam. Coconut and oat-based creamers produce better results than almond-based versions.
Is there a difference between steamed milk and frothed milk?
Yes. Steamed milk is heated and lightly aerated — it’s creamy and silky but not dramatically foamy. Frothed milk has significantly more air incorporated, creating a thicker foam layer. Lattes use mostly steamed milk with a thin layer of foam. Cappuccinos use equal parts espresso, steamed milk, and thick frothed foam. You can approximate steamed milk by heating milk gently and whisking minimally.
Can I make froth without heating the milk?
You can make cold foam without heating — use cold milk directly from the fridge and shake, blend, or pump it vigorously. The foam is different in character (lighter, airier) and works specifically as a cold-drink topping. For hot coffee drinks, heated milk produces superior, more stable foam.
Final Thoughts
None of these methods are inferior to a frother in a way that should stop you from making the drink you want. The French press comes closest to steam-wand quality — closer than most people expect. The mason jar is the fastest and easiest path when you just need some foam on your morning coffee. And the immersion blender is genuinely excellent for larger batches or flavored drinks.
The thing that actually matters most: get the milk temperature right. All other variables are secondary. Nail the heat (140–155°F), use whole milk or barista oat milk, and the foam will come — regardless of which tool you use.
Make the drink. Enjoy it.