Pour Over Coffee for Beginners: 7 Easy Steps to a Better Cup

Pour over coffee for beginners starts with one simple idea: hot water poured slowly over ground coffee in a paper filter. There is no machine to program and no pods to buy. You control the water, the grind, and the pace, which makes pour-over one of the best ways to learn how coffee actually tastes….
Pour over coffee for beginners starts with one simple idea: hot water poured slowly over ground coffee in a paper filter. There is no machine to program and no pods to buy. You control the water, the grind, and the pace, which makes pour-over one of the best ways to learn how coffee actually tastes. This guide covers the gear you need, a simple recipe that works, and the mistakes most beginners make, so your first cup is already a good one.
What Is Pour-Over Coffee?
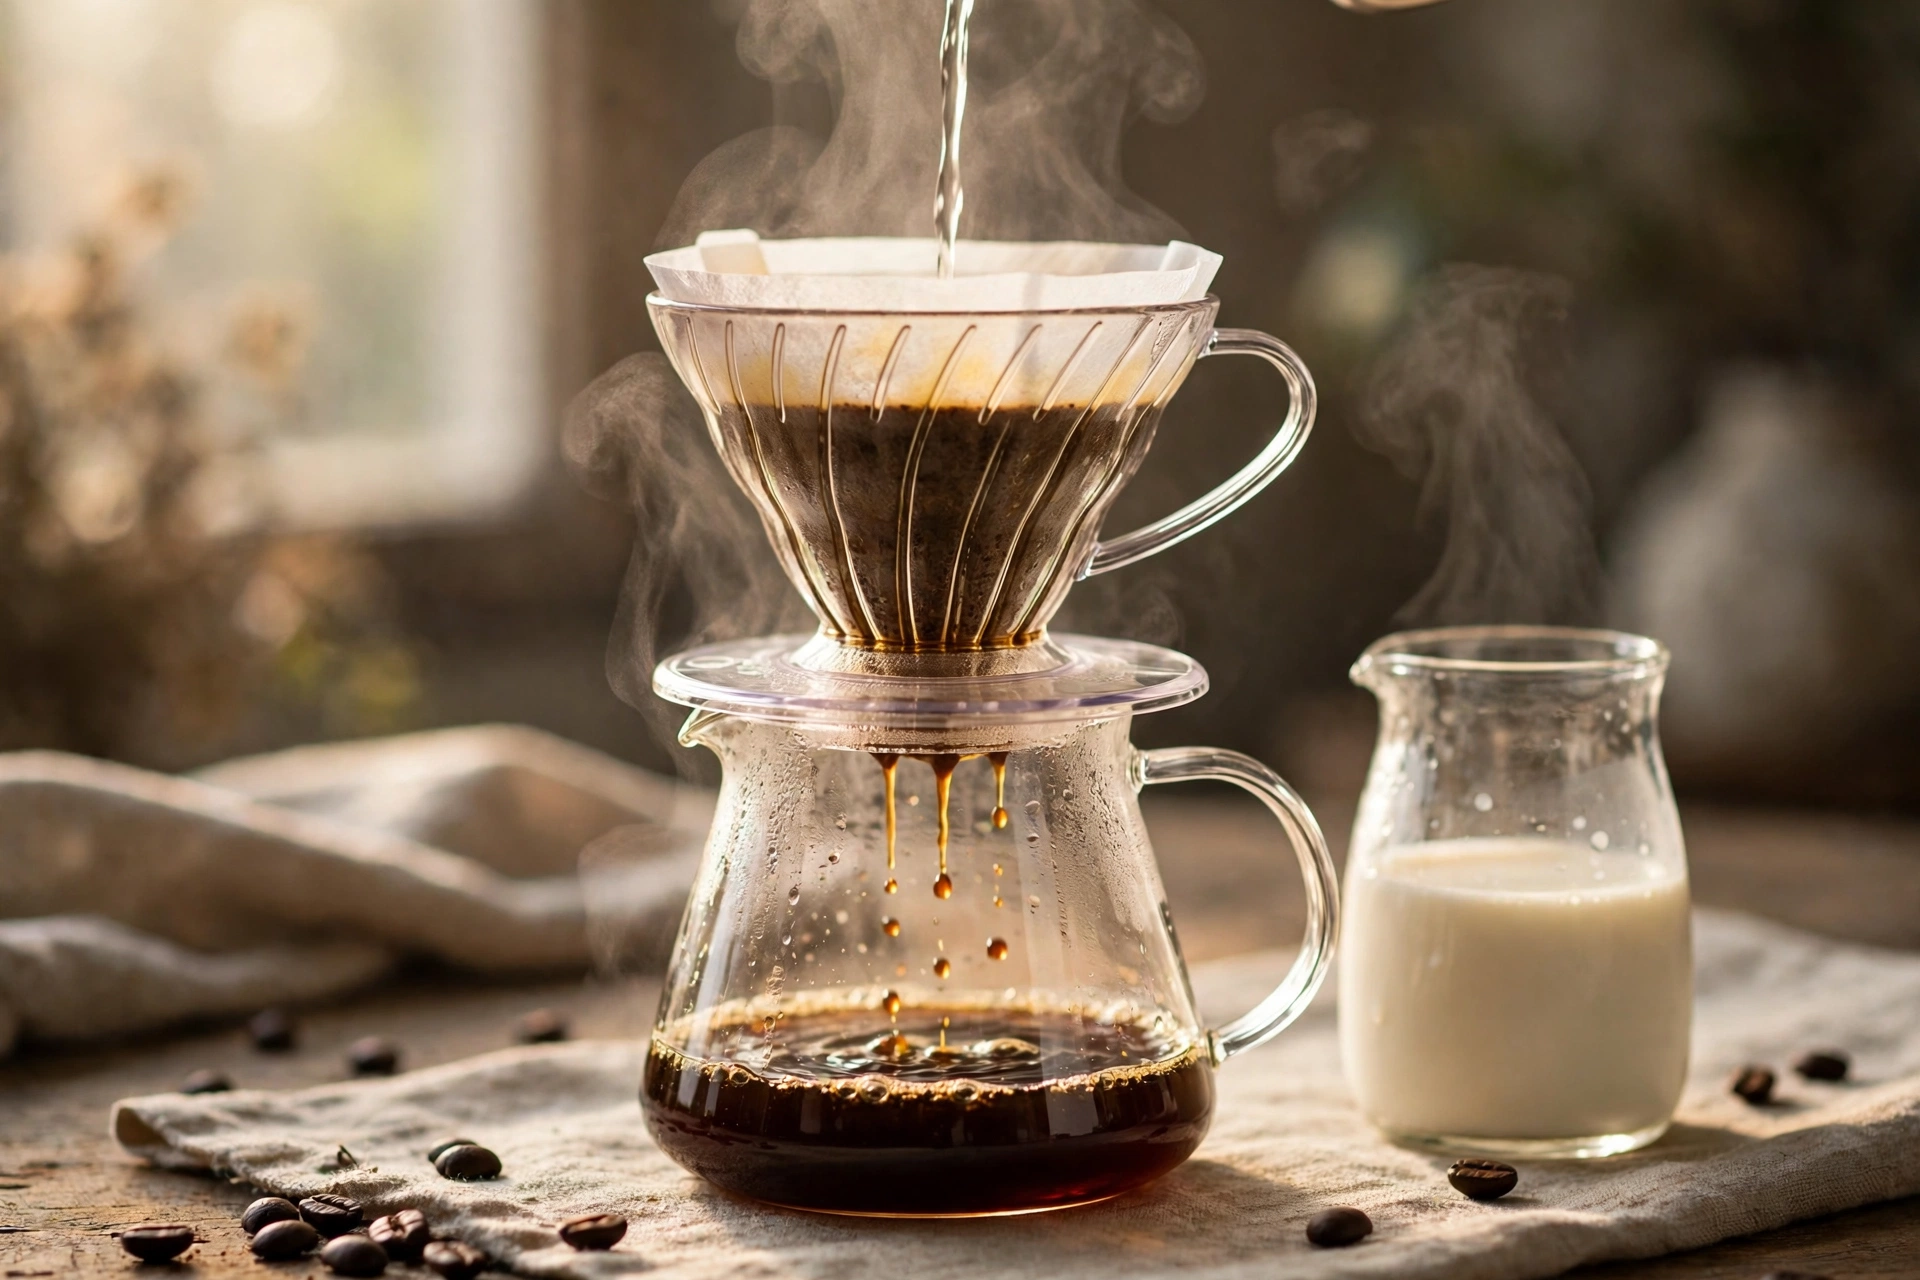
Pour-over is a manual brewing method. Ground coffee sits in a filter inside a dripper, which sits on top of your mug or a carafe. You pour hot water over the grounds in slow circles, and the brewed coffee drips through into the cup below. Because the water passes through the grounds only once, the cup tastes clean and clear, and small changes in grind size or pouring speed show up in the flavor. That feedback is exactly what makes it such a good method for learning.
The best-known drippers are cone-shaped, such as the V60 and Chemex styles, and flat-bottom styles such as the Kalita Wave. For a first setup, any simple plastic or ceramic cone dripper works well. The dripper matters less than fresh beans, a decent grind, and water at the right temperature.
What You Need to Start
You do not need expensive gear to start. This short list covers it:
- A cone dripper and matching paper filters
- Freshly roasted whole-bean coffee
- A burr grinder, or coffee ground for pour-over at the shop
- A kettle, ideally one you can pour slowly with
- A mug or carafe, and a kitchen scale if you have one
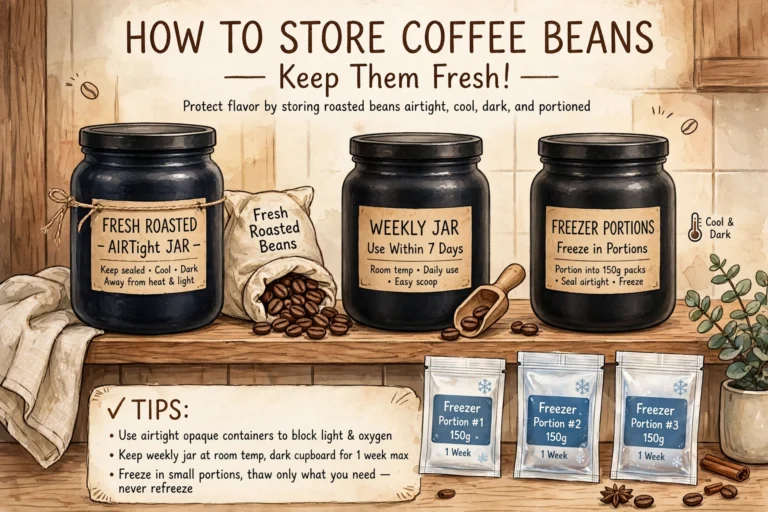
A scale helps a lot because pour-over recipes are written by weight, not scoops. If you do not have one yet, use about two level tablespoons of coffee per 6 ounces of water as a starting point, then adjust to taste. For grind size by method, see our best coffee grinders guide, and for keeping beans fresh between brews, see our guide to storing coffee beans.
Pour Over Coffee for Beginners: A Simple Recipe
Use a 1:15 coffee-to-water ratio: 15 grams of coffee for every 250 grams (about 8 ounces) of water. That is the same ratio used in our French press coffee guide, and it gives a balanced cup that is neither weak nor overpowering. Grind medium-fine, about the texture of coarse sand. Heat fresh water to 195-205°F, the range used in our drip coffee guide. If you do not have a thermometer, bring water to a boil and let it sit for about 30 seconds.
How to Make Pour-Over Coffee, Step by Step
- Fold the paper filter along its seam, place it in the dripper, and rinse it with hot water. This removes any paper taste and warms the dripper and mug. Tip the rinse water out.
- Add 15 grams of medium-fine ground coffee for a single mug, and shake the dripper gently so the bed is level.
- Start your timer and bloom the coffee: pour just enough water to wet all the grounds, about twice the coffee weight, and wait 30 to 45 seconds. The grounds will bubble and rise as trapped gas escapes.
- Pour slowly in small circles from the center outward, keeping the water level steady. Do not pour down the sides of the filter, where water can slip past the coffee without brewing it.
- Keep pouring in stages until you reach 250 grams of water in total. Aim for the whole brew to finish dripping in about two and a half to three and a half minutes.
- Remove the dripper, give the coffee a gentle swirl, and taste it before adding anything. A good pour-over needs no sugar to taste sweet and clear.
Common Beginner Mistakes
Grinding too fine. If the brew drips very slowly and tastes bitter or harsh, your grind is too fine. Go one step coarser and try again.
Pouring too fast. Dumping all the water in at once stirs up the bed and gives an uneven extraction. Slow, steady circles brew more evenly.
Skipping the bloom. Fresh coffee releases gas when it first meets water. If you skip the bloom, that gas pushes water away from the grounds and the cup tastes flat.
Using stale beans. No technique fixes coffee that has been sitting open for weeks. Buy small bags often, grind just before brewing, and store the rest airtight.
Pour-Over vs French Press vs Drip
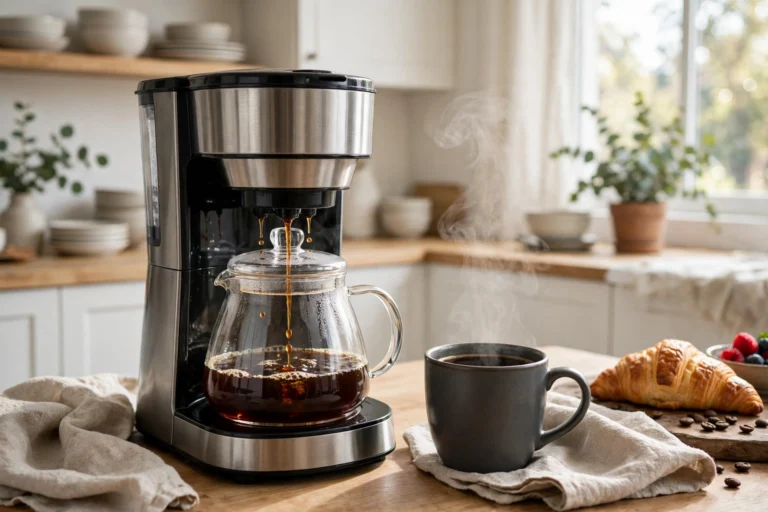
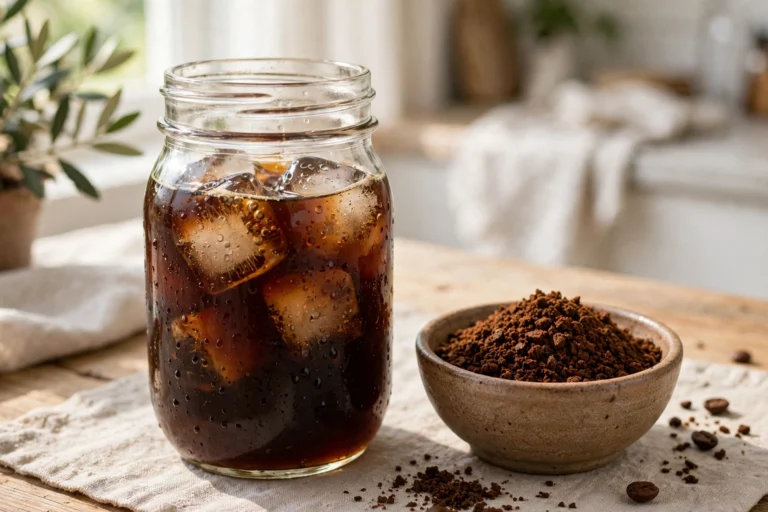
Pour-over gives the cleanest, brightest cup of the three, because the paper filter holds back fine grounds and oils. Our French press coffee guide makes a heavier, fuller-bodied cup, since the metal mesh lets more oils through and the grounds steep in the water. Our drip coffee guide is the most hands-off option: the machine controls the water for you, but you give up the control that makes pour-over so good for learning. If you like cold coffee instead, our cold brew coffee guide uses time rather than heat to brew a smooth, low-acid cup.
Frequently Asked Questions
Do I need a gooseneck kettle?
No. A gooseneck kettle makes slow pouring easier, but any kettle works if you pour gently and in circles. Start with the kettle you own and upgrade only if pouring control becomes the thing holding your coffee back.
Can I use pre-ground coffee?
Yes, as long as it is ground for pour-over, not for espresso or French press. Pre-ground coffee goes stale faster, so buy small bags and use them within a week or two of opening.
Why does my pour-over taste sour?
Sourness usually means under-extraction: the water did not pull enough out of the grounds. Try a slightly finer grind, hotter water, or a slower pour. If the coffee tastes bitter instead, do the opposite and grind a little coarser.
Pour-over rewards patience more than gear. Brew the same recipe a few days in a row, change only one thing at a time, and you will quickly learn what your taste buds prefer.
Once this method feels easy, try the same attention to grind and ratio in our French press coffee guide and our drip coffee guide, and keep your beans at their best with our guide to storing coffee beans.
Pour Over Coffee for Beginners: Troubleshooting Your First Cups
When you are learning pour over coffee for beginners, taste before you change anything. If the cup is sour, grind a little finer or pour a little slower. If it is bitter, grind a little coarser. Change only one variable at a time, so you know what fixed it. For pour over coffee for beginners, this one-change rule matters more than new gear, because the National Coffee Association notes that your brewing process impacts flavor as much as variety and roast, as explained in its brewing guide.
To make two mugs, scale the same recipe: use 30 grams of coffee and 500 grams of water, bloom with about 60 grams of water, then pour in stages to 500 grams in total. Keep the medium-fine grind and the 1:15 ratio, and do not double the pour speed just because the batch is larger. That is how pour over coffee for beginners stays consistent when you brew for a friend.
Pour Over Coffee for Beginners: A Simple Closing Check
Finish every brew with three checks: the bed is flat, not cratered; the cup tastes balanced, not sharply sour or harshly bitter; and you wrote down the one change you made. Keep that habit, and pour over coffee for beginners becomes a reliable morning routine. Next, compare this clean cup with our French press coffee guide and our drip coffee guide, and keep your beans fresh with our guide to storing coffee beans.